

How to manage a Cluing Workspace?
How to access your Workspace
Section titled “How to access your Workspace”When you create or are added to a Team Version, you’ll be able to see it in the top left corner of the navigation.

By clicking on the arrows, you’ll be able to see all workspaces that you are a member of and switch between them as needed.
Workspace Settings
Section titled “Workspace Settings”You can only edit Workspace Settings if you’re the owner.
To access settings, navigate to the workspace panel in the top left corner and then click the “Settings and members” item in the workspace panel.

Here you can rename the workspace, add additional team members, and delete your workspace.
How to rename the workspace
Section titled “How to rename the workspace”To rename the workspace, just click on the name field and click “Enter” once you’re done making changes.
How to add users to your workspace
Section titled “How to add users to your workspace”To add a new user to your workspace, enter their Cluing account email in the ‘Email Address’ field and click the envelope on the right.
The user will then be added to your workspace.
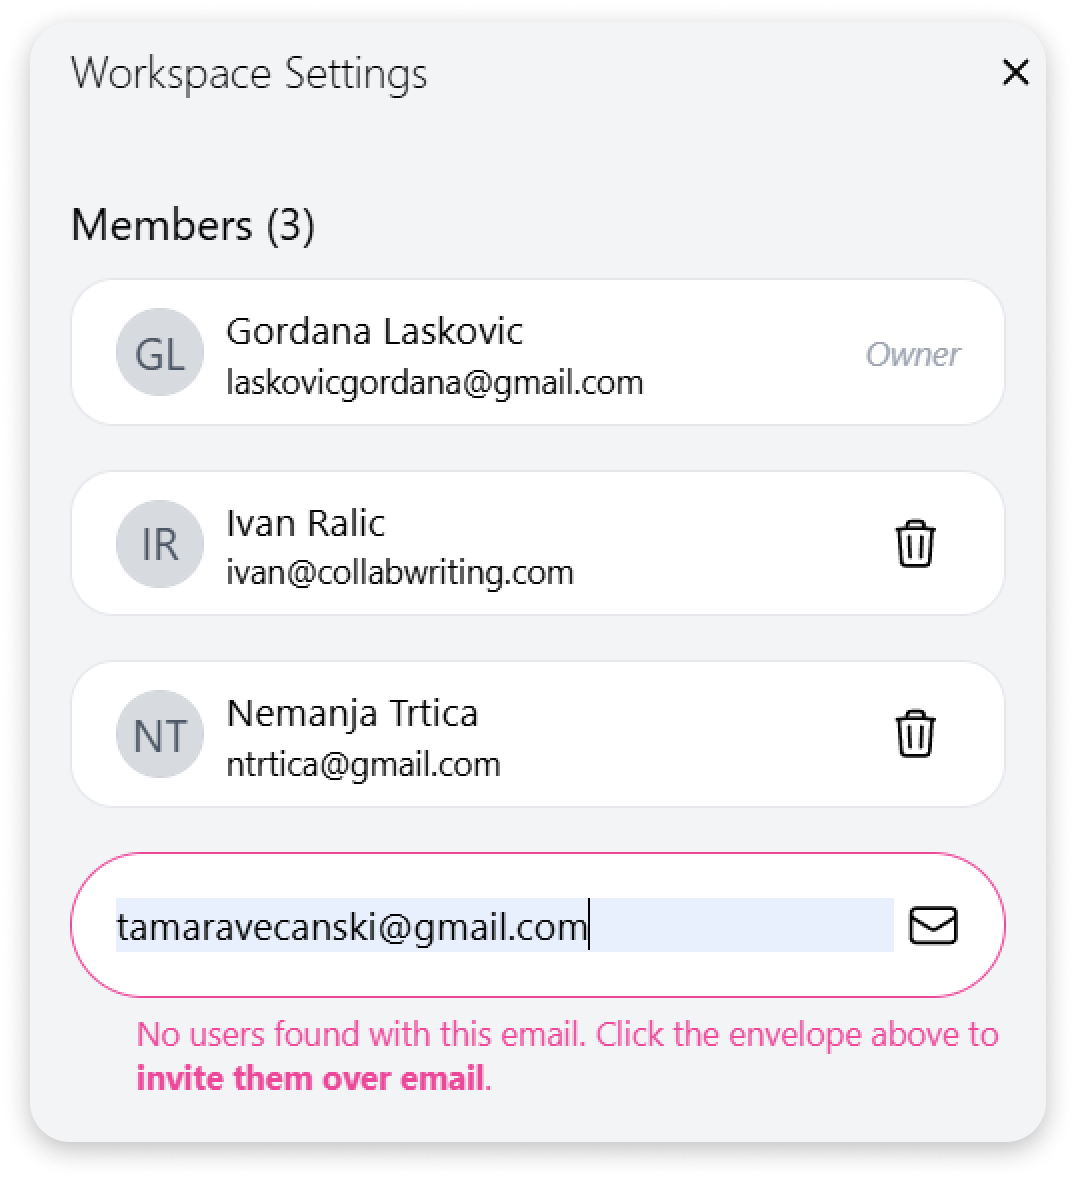
If they don’t have an account already, they’ll be sent an email invitation to join.