

How to create a Connector
There are two ways to add a Connector to your workspace. Pick the one that fits how you’re working right now.
Create it from the Connectors page
Section titled “Create it from the Connectors page”The direct route. Best when you already know which tool you’re connecting to and have the credentials ready.
-
In the left sidebar, click Connectors.
-
Start your Connector one of two ways:
-
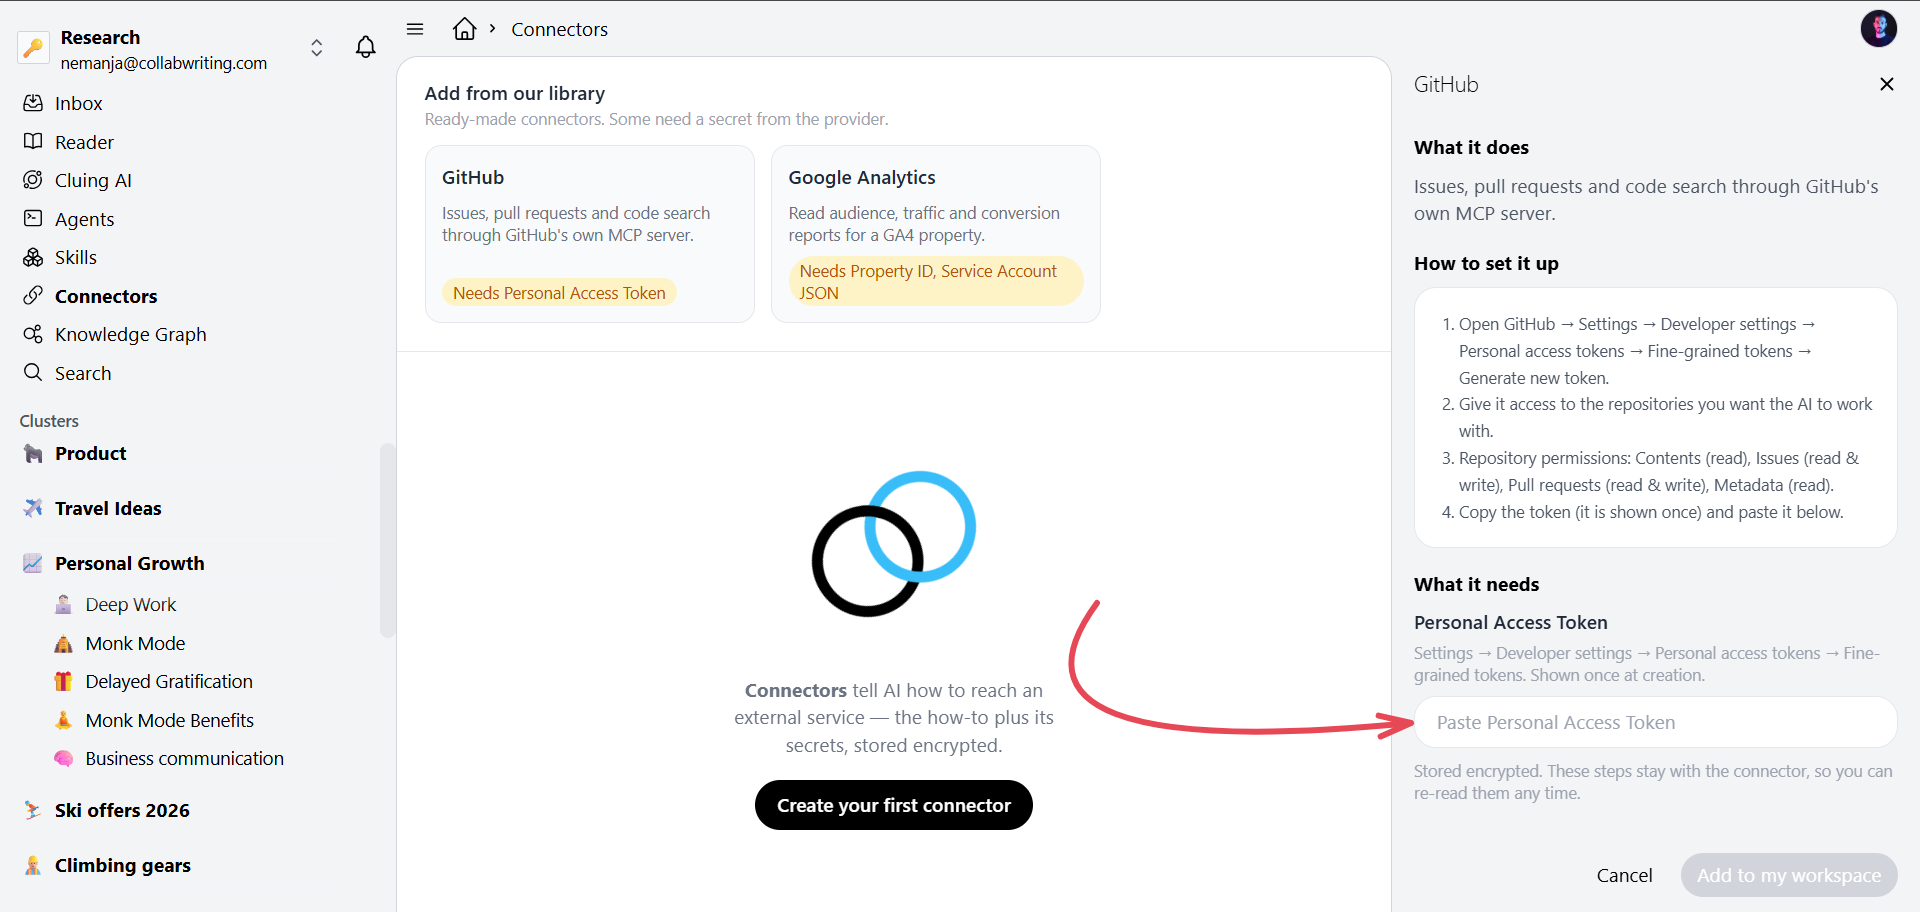
From the library
-
From scratch - click Create your first connector to open a blank panel and write your own how-to.
-
From the Library
Section titled “From the Library”Pick a pre-made template(GitHub, Google Analytics…). Most fields are pre-filled you only add your own access token.
From the scratch
Section titled “From the scratch”To create your first connector from scratch, click the “Create your first con to open a blank panel and write your own how-to.
-
Fill in the fields:
-
Name
-
Description - one line about what the Connector reaches.
-
How to use it - the endpoint, the auth flow, and short examples of how Agents should call it.
-
-
Reference your keys and tokens by name, never by value. The Connector stores the raw secrets separately, encrypted.
-
Click Create Connector.
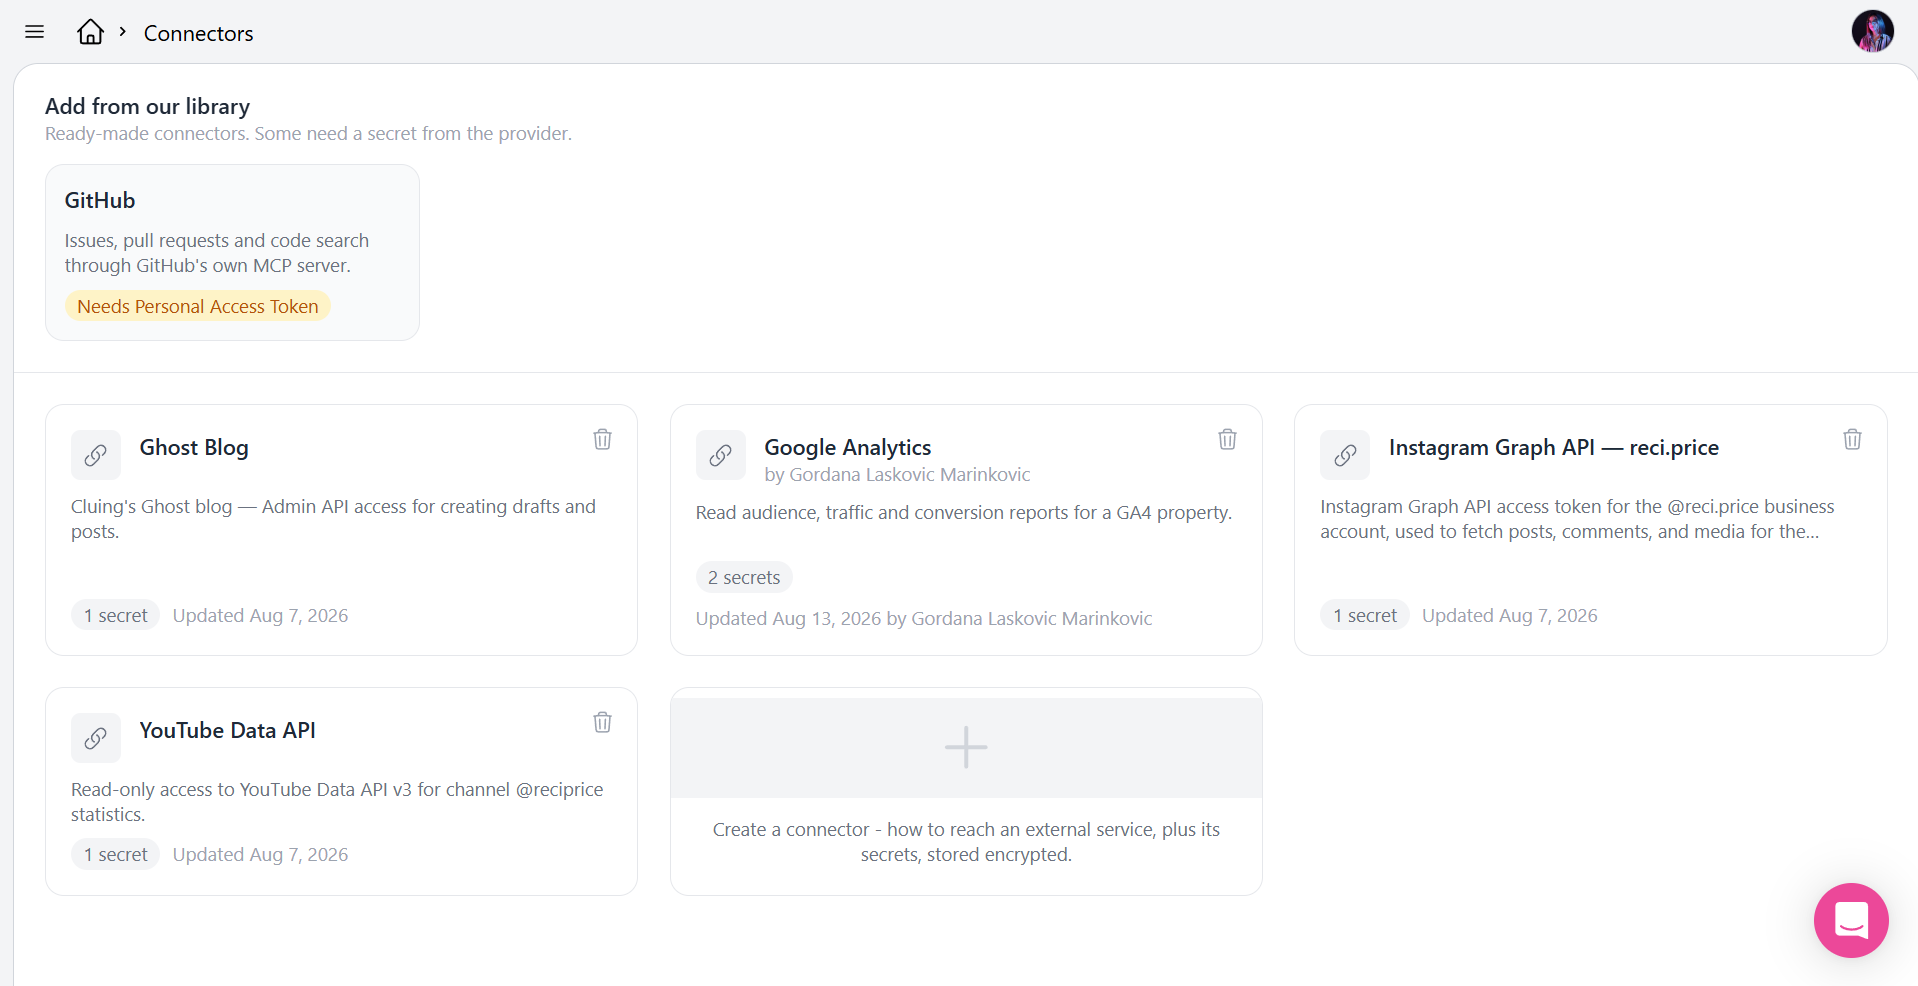
Ask an Agent to set it up with you
Section titled “Ask an Agent to set it up with you”If you’re not sure which fields to fill in, or you’d rather have the Agent walk you through it.
-
Open any Autonomous Agent.
-
In a Task, ask it something like “Connect me to Linear so you can read our issues”
-
The Agent asks for what it needs - the endpoint, the type of auth, the credentials it should use
-
The Agent creates the Connector from your answers and confirms when it’s ready to use
You end up with the same Connector either way.
What “How to use it” should contain?
Section titled “What “How to use it” should contain?”Think of this field as the manual you’d hand a new teammate. A useful one covers four things:
-
The endpoint - where the tool lives (URL, MCP server name, connection string).
-
The auth - what kind of secret is needed and the name it’s referenced by.
-
What to use it for - 3–5 concrete things Agents should do with this Connector.
-
What not to do (optional) - read-only limits, PII rules, anything the Agent should stay away from.